Big Walk Green Room Puzzle: Hints and Solution
Solve the Big Walk Green Room Puzzle with a low-spoiler role split, a live communication hint, and an optional complete solution for the outside panel.
- Applies to
- Big Walk 1.4.7 (launch version)
- Published
- 2026-08-14
- Updated
- 2026-08-14
On this page
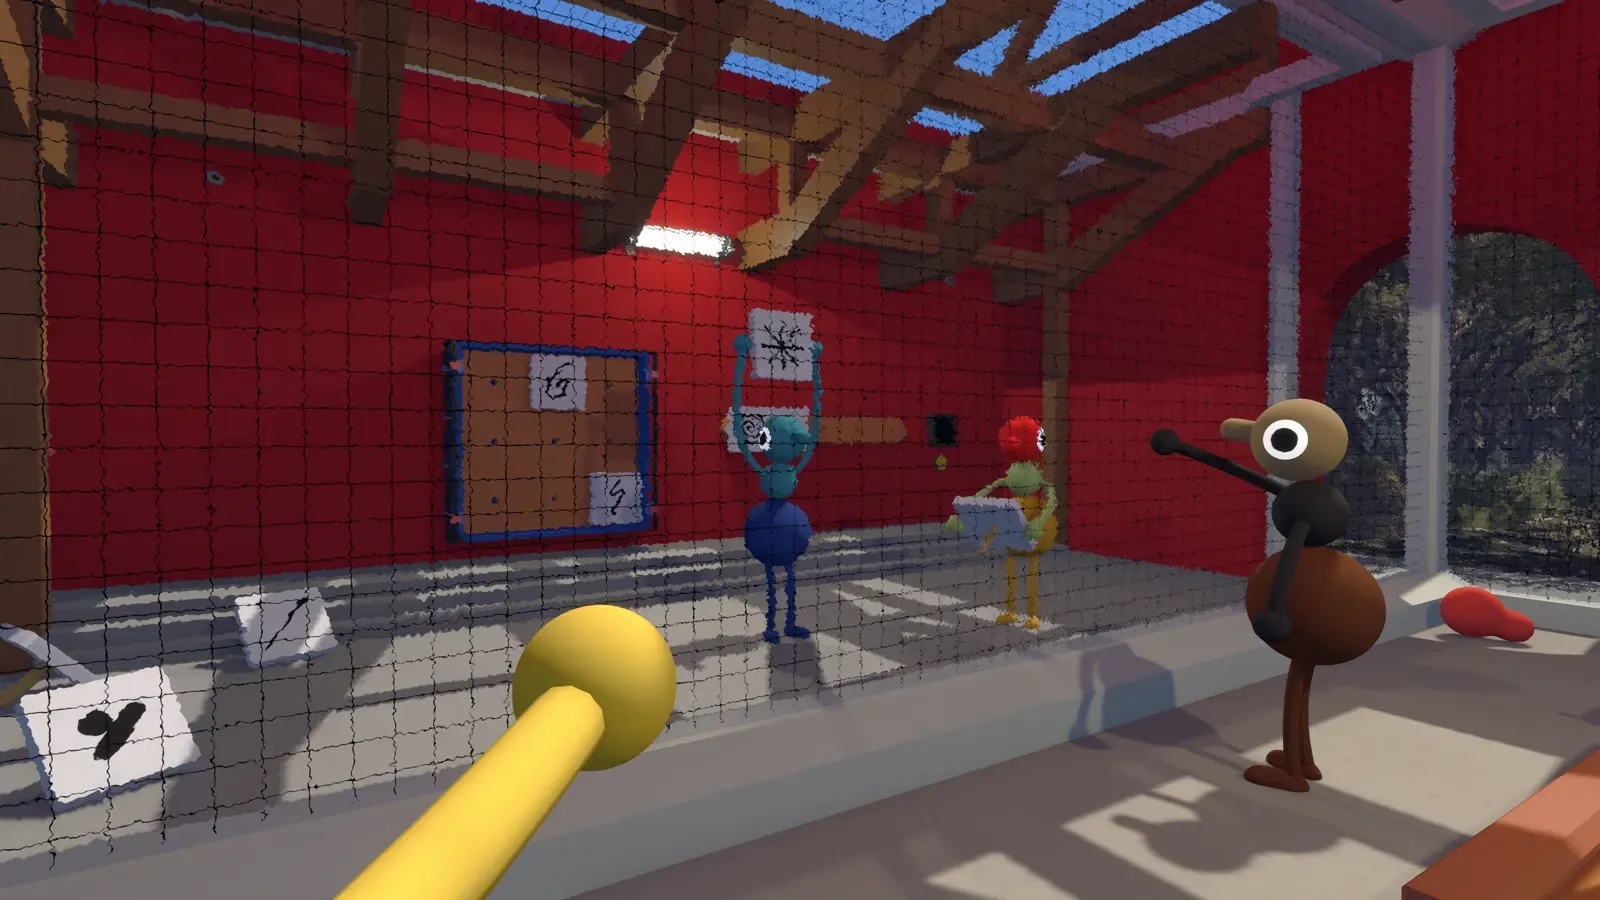
Use this page when one player can enter a green room at the Red Tower while another player is left with an outside panel. The puzzle is a live coordination exercise, not a fixed symbol code. Set the roles, share only the current prompt, and wait for the reward instead of trying to memorise an answer from another group.
Before you start
The Green Room is one of the Red Tower challenges, reached after the starting area. Bring at least two players and agree on a clear callout method before closing the room. Community walkthroughs describe the inside player as the one who can see the current display and the outside player as the one who can act on the matching panel.
If the route to the Red Tower or Map Room is still unclear, return to the Walkthrough. If the group needs a landmark check before splitting, open the Map.
Low-spoiler hints
Show hint 1: choose roles before touching the panel
One player should go inside and one should remain at the external controls. Name those roles aloud before the door closes so neither player spends the first prompt in the wrong place.
Show hint 2: describe what is happening now
The useful information is the currently displayed or lit mark. Call out that live mark exactly; a sequence remembered from another attempt is not a reliable shortcut.
Show hint 3: use the partner’s panel, not a guess
The player outside has the matching controls. After each correct match, wait for the next live prompt rather than rushing several inputs at once.
Complete solution
Show the complete solution
- Put one player inside the Green Room and leave the other at the external button panel.
- Have the inside player read the currently lit or displayed symbol/button and relay it exactly to the outside player.
- The outside player presses the corresponding control, then both players wait for the next current prompt.
- Repeat the read-and-match loop until the collectible/piece is released.
- Take that released piece back to the Red Tower terminal as one of the five pieces for the Map Room route.
How to know it worked
The documented completion signal is the released collectible/piece. Do not call the puzzle finished merely because the team has entered several correct controls. Check that the item has appeared, then carry it back to the Red Tower terminal when the group is ready.
If no piece appears
Pause, confirm that the player inside is reading the current live prompt and that the partner is using the external panel, then repeat the current exchange without guessing from a remembered pattern. That is the lowest-risk recovery supported by the documented matching loop.
The sources do not establish whether a wrong input resets the whole sequence, resets one prompt, changes the symbols, exposes a reset control, or scales beyond two players. Treat those details as unknown: do not restart unrelated tower progress or promise a reset behavior this guide cannot verify.
Where to go next
After the piece is released, return to the Walkthrough to decide whether the Map Room route is your group’s next useful objective. Open the Map when the team needs to orient itself around the Red Tower area. This Preview page remains noindex until the interaction is replayed on the listed version, including a deliberately failed-input case.
Evidence desk
Sources
- 01Destructoid: Complete Big Walk walkthrough and puzzle solutionsAccessed 2026-08-14
- 02Sportskeeda: Big Walk full walkthroughAccessed 2026-08-14
- 03All Things How: Red Tower and Green Button Room walkthroughAccessed 2026-08-14